How to Clean Tinted Windows Without Damaging the Film
Maintaining clean tinted windows not only enhances your vehicle’s appearance but also ensures that the film continues to provide its intended benefits, such as UV protection and heat rejection. However, cleaning tinted windows requires careful attention to avoid damaging the film. Here’s a comprehensive guide from Garage Slick on how to clean tinted windows safely and effectively.
Why Proper Cleaning is Important
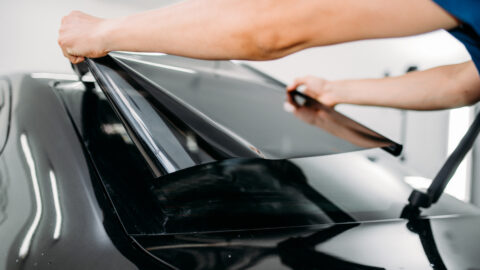
Tinted windows are treated with a special film designed to provide various benefits, including reducing glare, blocking harmful UV rays, and enhancing privacy. Improper cleaning methods can degrade this film, leading to peeling, bubbling, or discoloration over time. Therefore, it’s crucial to adopt the right techniques to preserve the longevity and performance of your window tint.
Materials You Will Need
- Microfiber cloths
- Non-ammonia-based window cleaner
- Spray bottle
- Soft sponge or applicator
- Distilled water
Step-by-Step Cleaning Process
1. Choose the Right Cleaner
Avoid using ammonia-based cleaners as they can break down the adhesive in the tint film. Instead, opt for a non-ammonia window cleaner or prepare a solution of distilled water mixed with a small amount of mild dish soap.
2. Prepare the Cleaning Solution
If you prefer a homemade solution, mix equal parts of distilled water and white vinegar or add a few drops of mild dish soap to distilled water. This mixture effectively cleans without harming the tint.
3. Initial Dusting
Before applying any liquid cleaner, use a dry microfiber cloth to gently dust off any loose dirt and debris from the windows. This prevents scratching the film during the cleaning process.
4. Apply the Cleaner
Spray the cleaning solution lightly onto the tinted window. Avoid excessive moisture, especially around the edges of the tint film, to prevent seepage that could cause bubbling or peeling.
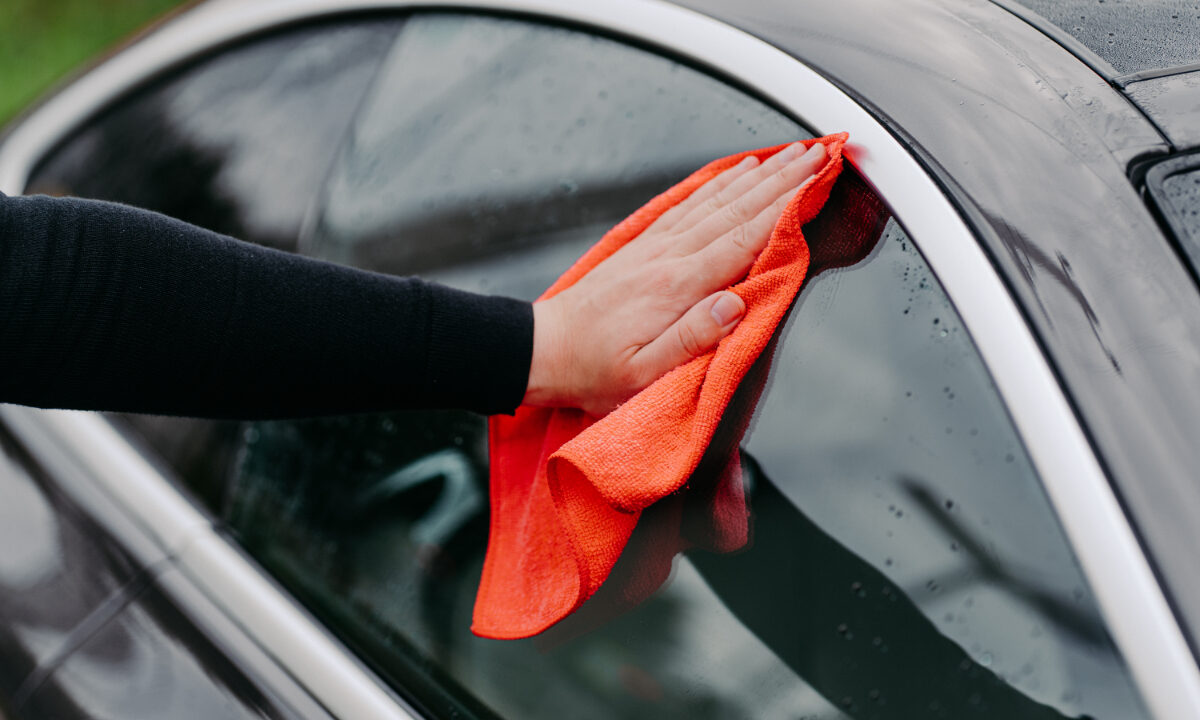
5. Wipe with a Microfiber Cloth
Using a clean, soft microfiber cloth, gently wipe the window in a circular motion. For stubborn spots, apply a bit more pressure, but always ensure the cloth remains soft to prevent any abrasion to the tint.
6. Dry the Window
After cleaning, use a dry microfiber cloth to remove any remaining moisture. This step helps prevent water spots and ensures a streak-free finish.
Regular Cleaning
Regular maintenance helps to avoid the buildup of dirt and grime, making each cleaning session easier and reducing the need for harsh scrubbing.
Common Mistakes to Avoid
- Using Harsh Chemicals: Steer clear of cleaners containing alcohol, ammonia, or acids, as they can degrade the tint film. These can break down the tint film over time.
- Excessive Water: Too much moisture can seep under the tint, leading to bubbles and peeling.
- Rough Scrubbing: Aggressive cleaning can scratch or tear the tint film. Always use soft cloths and sponges to prevent scratching the tint.
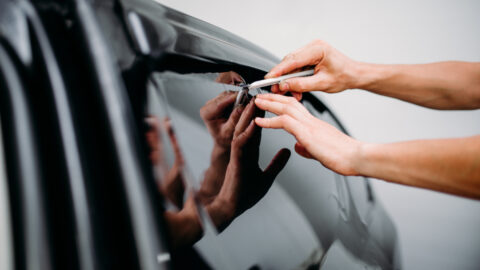
- Ignoring Edge Maintenance: The edges of the tint are particularly vulnerable and require gentle cleaning to maintain adhesion.
When to Seek Professional Help
If you notice any bubbling, peeling, or discoloration on your tinted windows, it’s advisable to seek professional assistance. Experts like Garage Slick can assess the damage and recommend solutions to restore or replace the tint without compromising your vehicle’s appearance.
Conclusion
Cleaning your tinted windows correctly is essential to maintain their functionality and appearance. By following these expert tips from Garage Slick, you can ensure that your window tint remains in excellent condition for years to come. Contact Garage Slick for professional window tinting services today!