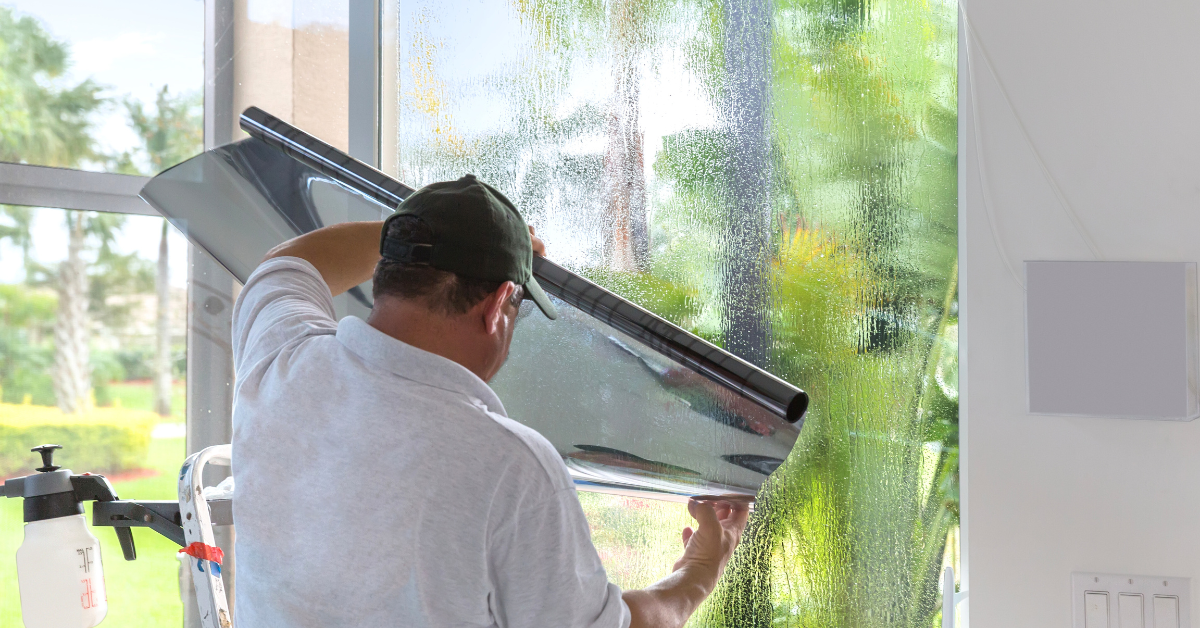
How to Tint Your Home Windows: Tips and Common Mistakes to Avoid
Tinting your home windows can increase privacy, reduce energy costs, and protect your interiors from UV damage. However, it’s a task that requires careful preparation and precise execution. In this guide, we’ll cover essential tips for a successful DIY window tinting project, as well as common mistakes to avoid. If you’re considering taking on this project yourself, make sure you’re fully prepared—or consider letting the professionals at Garage Slick handle it for flawless results.
Preparation Before Tinting
Tinting your home windows is a delicate task that requires careful preparation. Skipping or rushing through this phase can lead to costly mistakes that compromise the quality of your tint.
Thoroughly Clean the Windows
A properly cleaned window is your best defense against bubbles and other issues that can ruin the appearance and effectiveness of your tint.
- Use a gentle cleaner: Choose a cleaning solution that is free of harsh chemicals. A mild soap and water mixture often works best.
- Lint-free cloth: Ensure the cloth you use doesn’t leave behind fibers, which can get trapped under the tint.
- Final wipe: After cleaning, do a final wipe with a clean, dry cloth to ensure the surface is completely dry and residue-free.
Measure Accurately
Precision is key when it comes to window tinting. Accurate measurements ensure that your tint fits perfectly, reducing the chances of gaps, overlaps, or uneven edges.
- Measure twice, cut once: Take your time to measure each window carefully. Record the dimensions and compare them to ensure consistency.
- Consider the margins: When cutting your film, leave a small margin that can be trimmed after application. This gives you some wiggle room for adjustments.
- Use a straight edge: A straight edge or ruler can help you achieve precise, clean cuts, reducing the risk of jagged edges or incorrect sizing.
Step-by-Step Guide to Tinting Your Windows
Tinting your home windows yourself can seem like a cost-effective way to improve your living space. While it’s tempting to take on this DIY project to save money, it’s important to proceed with caution.
Here’s a step-by-step guide to help you get started, but remember—sometimes, leaving it to the professionals might be the best way to ensure a flawless finish.
Tools You’ll Need
Before you begin, make sure you have all the necessary tools.
- Squeegee: Essential for smoothing out the tint and removing bubbles.
- Spray Bottle: Filled with soapy water to apply the adhesive solution evenly.
- Utility Knife: For precise cutting of the tint film.
- Lint-Free Cloth: To clean and dry the window surface before and after application.
1. Cutting the Tint
When cutting your window film, it’s crucial to cut it slightly larger than the window itself. This extra margin allows for easier application, giving you some leeway to adjust the film once it’s on the glass. However, cutting the film too large or too small can lead to uneven edges, which can be difficult to correct once the film is applied. If you misjudge the size, you might have to start over with a new piece of film, leading to unnecessary waste.
2. Applying the Tint
The application process is where many DIYers run into trouble. Start by spraying your adhesive solution onto the window. This step is critical—too much solution and the film will slide around uncontrollably; too little, and you won’t be able to reposition it easily. Carefully position the film on the window, starting at the top and working your way down, using your squeegee to smooth out bubbles as you go.
3. Final Adjustments
Once the film is applied, trim the edges carefully with your utility knife to ensure a perfect fit. After trimming, go over the entire surface with your squeegee again to make sure all bubbles are removed. It’s crucial to allow the film to dry properly before touching or cleaning it. Depending on the weather, this could take several days. Premature handling can cause the film to shift, bubble, or peel.
Common Mistakes to Avoid
1. Bubbling, Wrinkles, and Application Issues
Bubbles and wrinkles are common problems in DIY window tinting. These occur when air gets trapped or the film isn’t applied smoothly, affecting both appearance and performance.
- Tip: Use a squeegee to carefully remove air bubbles during application. Work slowly to avoid wrinkles. If you’re unsure, consider professional installation to ensure a smooth finish.
2. Inside or Outside? Film Placement Matters
Residential window tints should be applied on the inside to protect the film from weather damage and to make maintenance easier. Installing it on the outside can reduce the film’s lifespan and effectiveness.
- Tip: Always apply window film to the interior side of the window unless the product specifies otherwise.
3. Risk of Voiding Your Window Warranty
Applying aftermarket window films can void your window’s manufacturer warranty. Many warranties exclude coverage if films are added, which can leave you unprotected if issues arise.
- Tip: Check your window’s warranty before applying any film.
Get Professional Results with Garage Slick
Home Window Tinting can improve comfort and privacy, but it’s easy to make costly mistakes if you try to do it yourself. Don’t leave your home’s comfort and appearance to chance. Contact Garage Slick today to schedule your residential window tinting service and experience the difference that professional care can make. Let us help you enhance your home with confidence!


